60 ml container for vacuum tube
For hospital and laboratory use as a container for the containment and transport of biological fluids from the human body (urine) for subsequent in vitro analysis in combination with vacuum tubes.
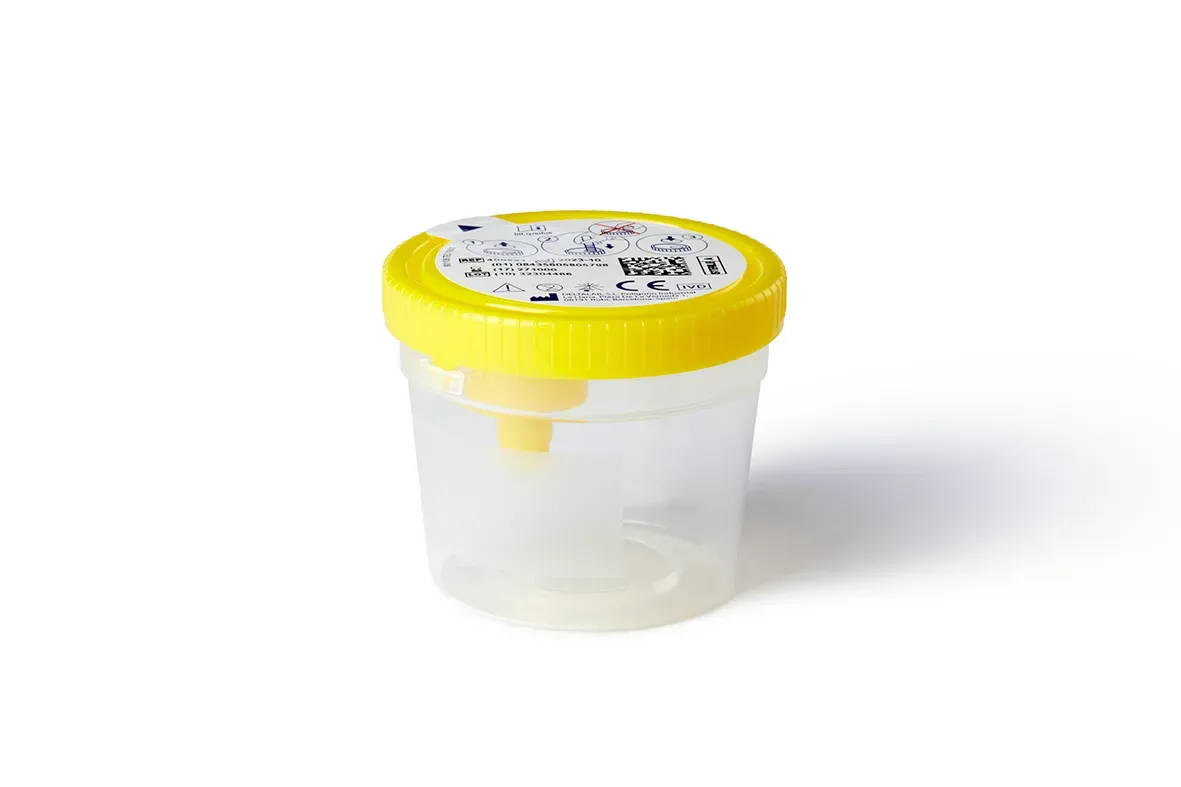
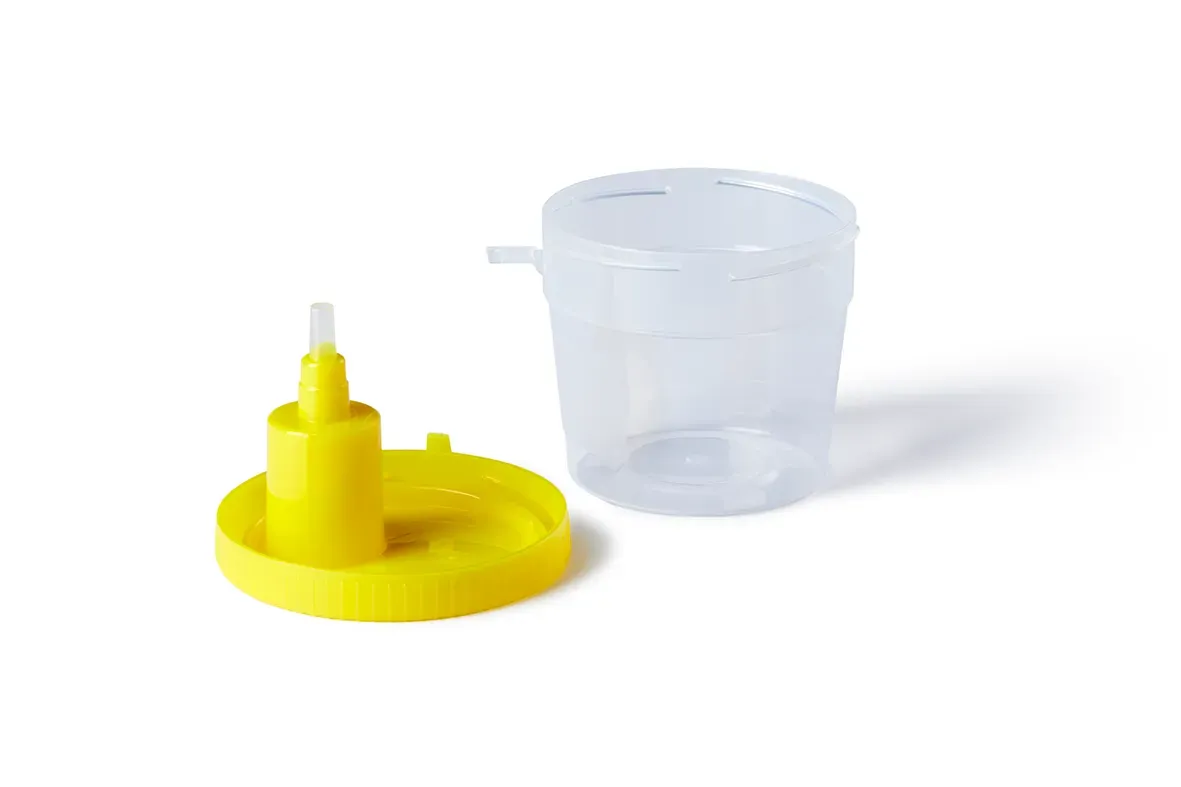
Transparent polypropylene bottle with a yellow polyethylene cap, internal sealing ring, and tamper-evident seal. Molded and manufactured under aseptic conditions (Sterile A).
Includes a cannula with an overmolded needle protected by a rubber cap and a transparent plastic aspiration nozzle. A label with instructions for use and needlestick injuries is included for safe handling.
The tamper-evident seal (img. 1) ensures the sterility of the bottle's contents until use, eliminating the need for individual bags and minimizing waste generation and environmental impact.
Dimensions
Outer diameter (A) 47 mm
Outer diameter with cap (B) 61.3 mm
Total length with cap (C) 51.4 mm
Maximum volume (without cap) 82 ml
Recommended volume 60 ml
CODE 409520: Tube 408900.K
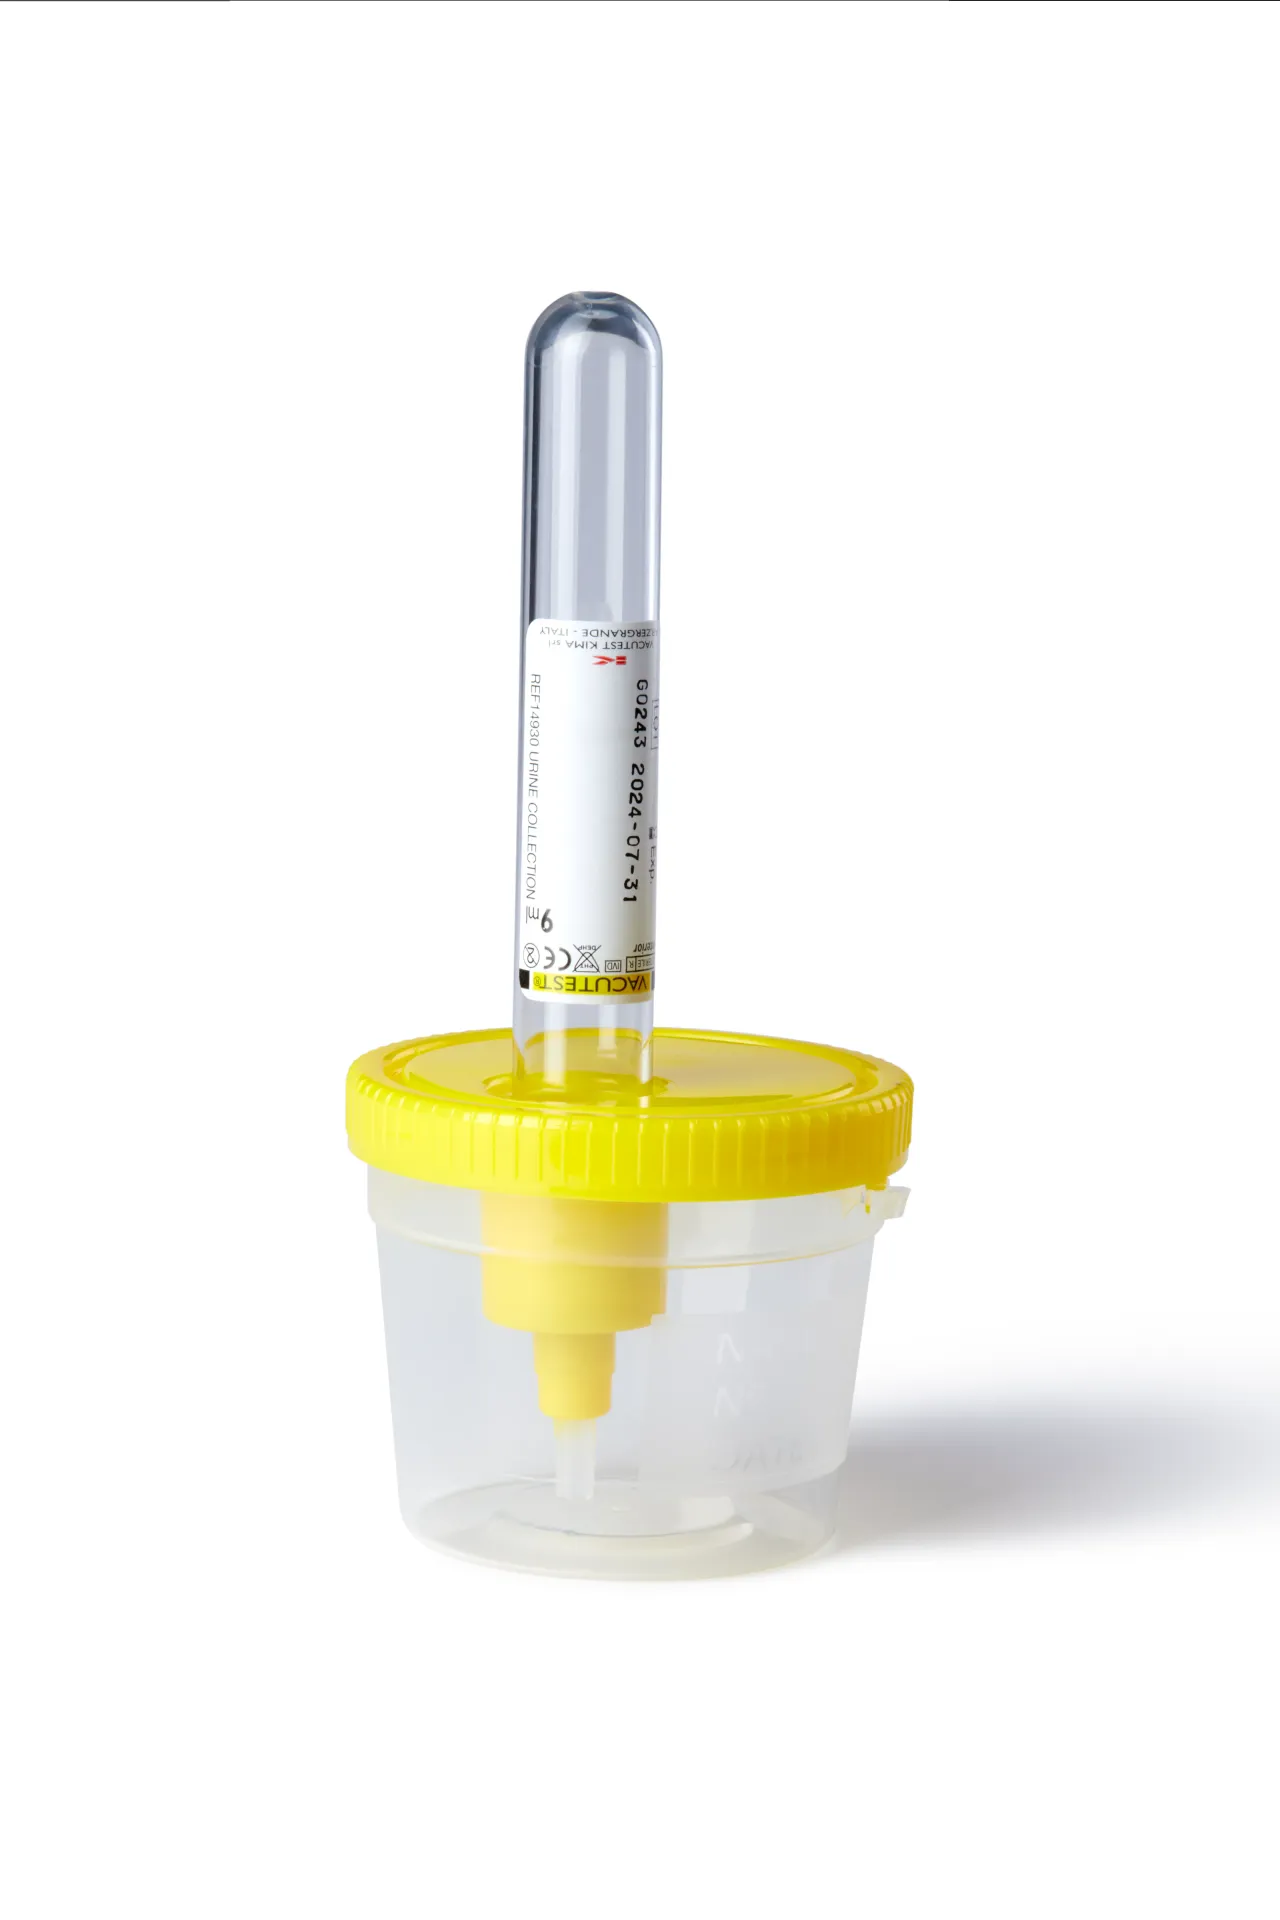
During manufacturing, the vacuum tubes undergo an air extraction process, creating a controlled vacuum inside the tube. When the cap is pierced by the needle, the vacuum within the tube draws up to 9 ml of liquid without needing to remove the cap, both for introducing the sample and for extracting aliquots for analysis.
The airtight cap consists of two parts: an inner butyl stopper and an outer yellow polyethylene cap. The double cap system prevents the formation of residual drops when the needle is withdrawn from the rubber stopper.
They include a label for sample identification. With a white background, this label incorporates a yellow diagonal line to easily identify it as a urine collection tube. It is printed with the lot number, expiration date, CE marking, IVD, single-use symbol, Sterile R, aspiration volume, manufacturer, and manufacturer's reference.
Label dimensions: 40 x 20 mm.
INSTRUCTIONS FOR SAMPLE COLLECTION
1. Wash your hands thoroughly, then wash your genitals. Dry with absorbent paper.
2. Do not remove the label from the cap to avoid puncture with the needle of the sample transfer system.
3. Verify that the container is properly closed and that the tamper-evident seal, if present, has not been opened, as this could compromise the sterility of the product. To open the container, turn the cap until you hear the tamper-evident seal break, if present. 4. Remove the lid from the container and place it face up on a flat surface to prevent the inside of the lid from touching anything and becoming contaminated.
5. Collect the sample according to the center's instructions, taking into account any preparation guidelines provided, and deposit the sample directly into the container.
6. Close the container by placing the lid tab between the two lines marked on the body of the container.
7. Turn the lid 15 degrees clockwise.
8. Return the container to the healthcare professional after collecting the urine.
If you purchased a sample collection kit (including a vacuum tube) and the healthcare professional instructed you to collect the sample in the tube, follow the sample processing instructions (starting from step 2).
SAMPLE TRANSFER PROCEDURE
1. Follow standard precautions when analyzing the sample: wear gloves, a lab coat, eye protection, or other personal protective equipment that protects you from potential splashes or leaks of samples or from potential exposure to pathogens.
2. Place the container upright on a clean, flat surface. The container should be tilted if the sample volume is small.
3. Remove the label from the lid to access the integrated transfer system in the container.
4. Place the vacuum tube, cap-side down, into the cavity in the lid.
5. Advance the tube through the puncture point to insert the needle of the transfer system into the tube cap.
6. Hold the tube in position until it is full. The urine will automatically flow into the tube.
7. Remove the tube from the transfer system when it is full. 8. Repeat steps 4-7 to fill additional vacuum tubes, and once finished, place the label in the cap cavity to reseal it and prevent accidental needle sticks.
9. Dispose of the sample collection containers according to your facility's biohazard waste disposal protocols.